Polygel Nail Kit: Lamp, Fit, and Removal

Quick answer: Choose a polygel kit as a complete, compatible system: gel, base and top products, lamp, forms or tips, brush, slip liquid, files, cure directions, and removal method. A long component list does not prove compatibility, easy use, or a particular wear time. This independent editorial guide does not claim first-hand product testing, diagnose, prescribe, or guarantee a result.
Identify every chemical and tool in the system
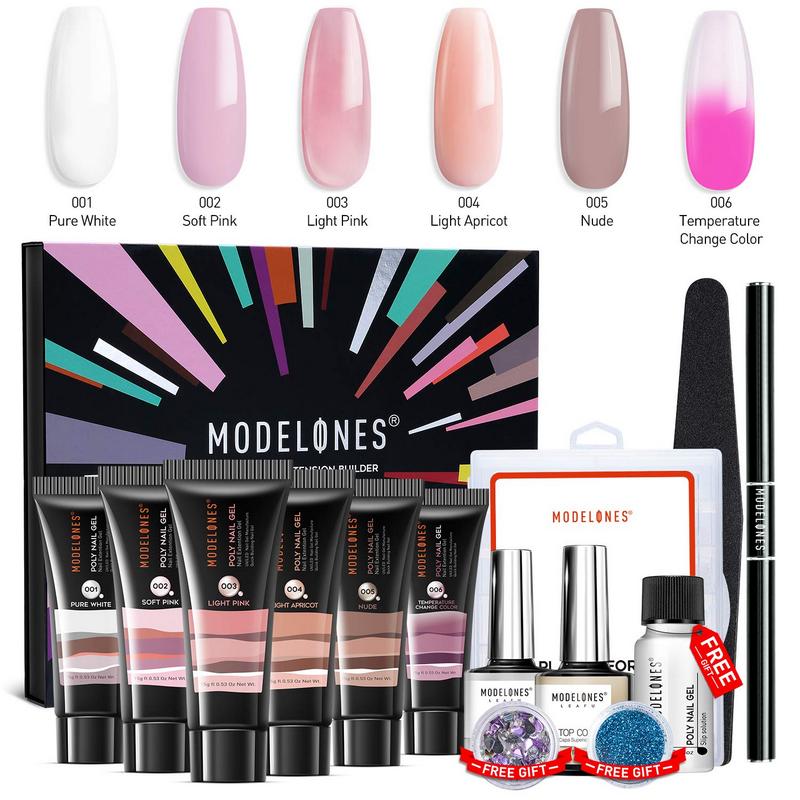
A polygel kit may include sculpting gel, base coat, top coat, slip solution, dual forms, paper forms, tips, adhesive, primer, dehydrator, files, brushes, clamps, and a lamp. List what is actually included and what must be purchased separately. Do not assume products from different kits share chemistry or cure requirements.
Read the ingredient declarations, professional-use language, warnings, directions, lot information, package seals, and manufacturer contact. Avoid unlabeled jars, leaking bottles, opened liquids, or kits that omit essential cure and removal instructions. A marketplace bundle is only useful when each item can be identified and used within its label.
Verify lamp compatibility rather than wattage alone
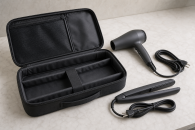
Gel systems can specify LED, UV, wavelength, lamp model, hand position, layer thickness, and cure time. Wattage by itself does not prove that light reaches the required photoinitiator or that a thick enhancement cures throughout. Use the lamp named or explicitly accepted by the product directions.
Do not shorten or extend curing by guesswork. An under-cured layer can leave reactive material, while excess heat or repeated exposure does not correct incompatible chemistry. Stop for painful heat spikes, burning, or skin contact, remove the hand, and follow the system's instructions rather than forcing completion.
Choose forms or tips from the natural nail
Dual forms, paper forms, full-cover tips, and sculpted overlays create different fitting tasks. Check natural nail width, sidewall alignment, apex placement, free-edge length, and whether the form rocks or pinches. A form that is too narrow can compress the sidewalls; one that is too wide can flood surrounding skin.
Practice fit before opening product. File or select another size only within the form instructions, and do not force a universal shape onto damaged or unusually curved nails. Keep the planned length compatible with work, typing, sports, caregiving, and removal skill.
Keep uncured product off skin
Acrylate-containing nail products can irritate or sensitize, and repeated uncured skin contact is not a harmless cleanup issue. Use controlled bead size, a clean brush, stable hand position, and adequate light. Remove product from skin before curing according to directions rather than sealing overflow around the nail.
Do not use polygel over cuts, inflammation, infection-looking changes, or unexplained nail lifting. Stop for persistent burning, itching, swelling, blistering, rash, or separation. Preserve the ingredient list and seek appropriate care when symptoms are significant or continue after removal.
Prepare the nail without aggressive thinning
Follow the system's preparation steps for cleansing, cuticle-area work, surface preparation, primer, and base. Removing surface shine is not permission to file deep grooves or make the nail thin and sore. Use sanitized tools and avoid cutting living skin.
Oil, dust, moisture, old coating, and product on the sidewalls can affect adhesion, but more dehydrator or primer is not always the answer. If lifting repeats, review fit, layer thickness, cure compatibility, contamination, and technique rather than filing the natural nail more aggressively.
Control structure and layer thickness
The apex, sidewalls, stress area, and free edge must work together for the chosen length. Very thick product can be uncomfortable and difficult to cure; very thin stress zones can crack. Follow education supplied for the exact system and begin with a manageable length while learning bead control.
Use slip product only in the amount and type directed. Flooding a surface with liquid can change handling and introduce skin contact. Inspect every angle before curing because hardened excess around the sidewall is harder to correct without touching skin or over-filing.
Finish and file with dust control
After the directed cure, check whether a tacky layer is expected and how it should be handled. File only where shape or surface correction is needed, support the finger, and keep the tool moving. Avoid filing skin, heat buildup, and inhaling concentrated dust.
Use ventilation and dust collection appropriate to the task, clean the workspace, and follow product directions before top coat. A smooth photograph does not prove the internal structure is correct. Cracks, lifting, pain, or movement at the natural nail require correction or removal rather than decorative cover.
Plan removal before the first application
Confirm whether the exact polygel is soak-off, file-off, or uses another named method. Do not peel or pry an enhancement from the natural nail. Filing requires leaving a controlled buffer and recognizing the boundary between product and nail; soaking requires the directed solvent, timing, ventilation, and skin protection.
If removal causes pain, bleeding, marked heat, or uncertainty about the product layer, stop and seek skilled help. After removal, inspect for lifting, discoloration, thinning, soreness, or changes that do not grow out normally. Do not immediately cover an unexplained problem with a new set.
Compare kits by complete usable cost
Check gel quantities, compatible lamp, replacement forms, files, brushes, remover, protective supplies, shipping, returns, and whether refills are sold separately. Recheck live price and availability at purchase time rather than relying on an evergreen article. A cheap kit can be costly when core components must be replaced.
Choose the kit whose full instructions, chemistry, lamp, fit method, and removal can be verified and followed. Skip bundles that rely on improvised substitutions or vague curing. This independent guide does not provide a hands-on review, salon-result promise, or guaranteed wear duration.
Run a one-hand compatibility trial
Before attempting a full set, map the steps for one nail: form fit, bead placement, shaping, lamp position, cure, surface check, filing, and removal. This reveals whether the supplied brush, form sizes, lamp space, and written directions work together without committing every nail. Record the named products and directed cure settings so the process can be repeated consistently.
Related Beauty Supply Reviews guides
Editorial sources
- https://www.fda.gov/cosmetics/cosmetic-products/nail-care-products
- https://www.aad.org/public/everyday-care/nail-care-secrets/basics/healthy-nail-tips