Black Eye Makeup Effect: Safe Costume Tutorial

Quick answer: Create a theatrical black-eye effect with cosmetic products only: map muted red and purple around the orbital bone, add blue or yellow sparingly, and keep all color out of the eye. This independent editorial guide does not claim first-hand testing, does not diagnose or prescribe, and does not promise a particular result.
Use cosmetics, not craft materials
Choose products labeled for the intended facial or eye area. Do not substitute paint, ink, markers, costume blood, or pigment with unclear eye-area permission merely because the color looks realistic.
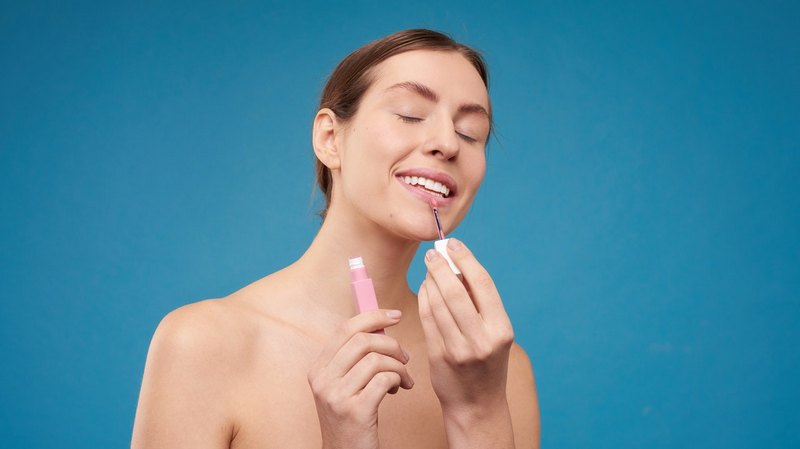
Map color around anatomy
Keep the deepest tones near selected orbital edges and blend outward with irregular, thin layers. Avoid pressing on the eye, covering an actual injury, or applying over broken, swollen, infected, or painful skin.
Build asymmetry gradually
Realistic effects usually use muted transitions rather than one solid black circle. Step back in ordinary light and stop before repeated blending irritates the skin or creates product fallout into the eye.
Remove and communicate the costume
Remove the effect gently before sleep. In public or online contexts, label theatrical injury makeup clearly when confusion could cause distress or false reporting.
Choose eye-area cosmetics for the effect
Use products whose current labels permit the intended eye-area placement. Matte cream color can establish a translucent base, while powder can soften edges and create mottling. Do not use theatrical blood, craft pigment, marker, paint, food coloring, or an unlabeled adhesive near the eye. A product described as face paint is not automatically approved for eyelids or the immediate eye area.
Sketch the bruise boundary before adding depth
Study where a fictional impact would place swelling and discoloration, then map an irregular boundary with a small amount of neutral taupe. Keep the waterline, tear duct, and eye itself clear. Real bruises are not perfect circles and do not have a uniformly black center. Uneven transparency, broken edges, and areas of normal skin make the effect more believable than full opaque coverage.
Layer colors in a controlled sequence
Begin with muted red-brown or mauve, add blue-violet selectively, and reserve charcoal for the deepest small areas. Yellow-green can suggest an older stage, but it should not be mixed into every zone. Build with thin layers and inspect at conversational distance. If the result becomes muddy, remove a section and restart rather than adding more black pigment.
Keep texture compatible with facial movement
Heavy dry powder can collect in folds, while a greasy cream can migrate. Blink, smile, and look in several directions after the first layer to see where product transfers. Set only where the product directions allow. Avoid making the eyelid physically stiff or adding materials that pull the skin. The goal is a visual illusion, not simulated swelling created by pressure or adhesive.
Coordinate the effect with lighting and camera
Stage light and phone cameras can reduce subtle color variation. Test under the actual lighting, then adjust saturation rather than enlarging the bruise automatically. A close-up may reveal edges that disappear at performance distance. Take an unfiltered reference photo from the expected angle so continuity can be repeated without relying on memory or applying a progressively darker design each day.
Label the reference with the scene, side of the face, product order, and brush used.
Use asymmetry without obscuring vision
Place more depth on one side of the orbital area and let color fade irregularly. Do not narrow vision with thick product, false swelling, or accessories. Keep lashes and contact lenses free from loose pigment. Anyone using contact lenses should follow their eye-care professional’s handling guidance and the cosmetic label instead of treating costume makeup as a reason to change lens hygiene.
Make the costume context explicit
A realistic black-eye effect can be mistaken for an actual injury or interpersonal violence. Inform performers, event staff, photographers, and relevant contacts that it is makeup. Avoid wearing the effect in settings where it could trigger an emergency response, mislead documentation, or distress others without warning. Costume realism does not remove the responsibility to communicate what the image represents.
Clean brushes and avoid shared eye products
Use clean hands, a clean palette, and tools reserved for cosmetics. Do not double-dip a used brush into shared cream product. Clean reusable tools by material and allow them to dry fully; the makeup brush cleaning guide covers the basic workflow. Discard products that change smell, texture, flow, or package integrity rather than reviving them with water or saliva.
Remove the bruise effect gently
Use a remover labeled for the formulas and eye area, hold it long enough to loosen pigment, and wipe without scraping. Dark blue and purple residue may need more than one clean pad. Stop hard rubbing if skin becomes sore. After removal, inspect the eye and surrounding skin in neutral light and return to a simple routine instead of immediately applying another elaborate design.
Distinguish irritation from a real injury
Burning, marked redness, swelling, discharge, persistent watering, pain, light sensitivity, or vision change is not part of a successful costume effect. Remove exposure as directed and obtain appropriate professional or urgent care when symptoms are significant. If an actual impact occurred, do not cover it to continue a performance. This guide does not diagnose eye injury or recommend medical treatment.
Adapt a cat-eye technique without confusing the intent
The cat-eye eyeshadow tutorial can help map clean outer direction, but injury makeup needs broken, diffuse edges rather than a polished wing. Use that geometry only to understand placement and keep cosmetic color out of the eye. A separate conventional liner can make the look read as fashion makeup, so decide whether that supports the costume narrative.
Black-eye makeup checklist
- Every product is labeled for its exact eye-area placement.
- The design uses translucent, irregular color rather than pressure or adhesives.
- Vision, lashes, contacts, and the waterline remain unobstructed.
- Lighting and camera distance are tested before performance.
- The costume context is communicated to people who may misinterpret it.
- Irritation or possible real injury stops application immediately.