How to Wash Makeup Brushes: Cleaning and Drying

Quick answer: Wash reusable makeup brushes with a compatible cleanser, keep prolonged water out of the ferrule, rinse until residue is gone, reshape gently, and let them dry fully before use. This independent editorial guide does not claim first-hand testing, does not diagnose or prescribe, and does not promise a particular result.
Separate brushes, sponges, and powered tools
Natural and synthetic bristles, makeup sponges, puffs, disposable applicators, and powered brush heads can require different cleaning. Follow manufacturer directions for specialty materials and electronics.
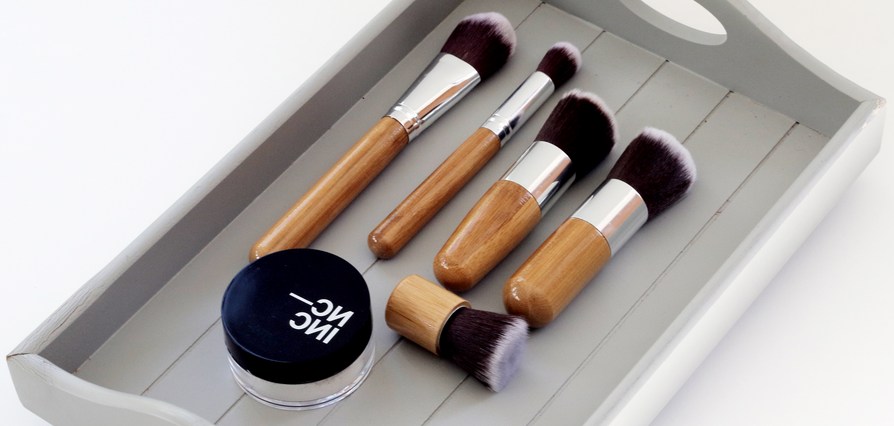
Remove product without damaging the ferrule
Wet bristles in a controlled direction, work cleanser through the fibers, and avoid soaking the handle or glue joint. Rinse thoroughly without twisting, hard pulling, or using water hotter than the material permits.
Dry completely before storage
Press out water gently, reshape the head, and dry in a ventilated position that does not trap moisture in the ferrule. Do not use a damp brush or seal it in a closed bag.
Replace damaged or contaminated tools
Discard brushes that shed, smell unusual, remain discolored after proper cleaning, scratch skin, or cannot dry fully. Tools used during an eye or skin infection may need replacement rather than routine washing.
Sort tools before adding water
Separate natural and synthetic bristles, eye and face brushes, sponges, powder puffs, disposable applicators, and powered tools. Check each manufacturer’s cleaning limits. A wooden handle, glued ferrule, battery housing, retractable mechanism, and porous sponge cannot share one soaking method. Remove tools with cracks, loose metal, mold, odor, or unknown contamination before cleaning the usable group.
Prepare a clean washing zone
Wash hands, clear the sink, and place clean towels or a drying rack away from toilet splash, food preparation, pets, and used cosmetics. Keep dirty and rinsed brushes on separate sides. Use lukewarm running water or clean basins as appropriate. A visibly dirty sink can recontaminate tools, while a cluttered counter makes it difficult to know which brush has completed each step.
Wet bristles without soaking the ferrule
Point bristles downward and wet the working fibers while limiting water at the metal ferrule and handle joint. Prolonged soaking can swell wood, loosen adhesive, corrode metal, and trap moisture. For a retractable or specialty brush, follow its mechanism-specific directions. Do not assume waterproof makeup means the entire brush can be submerged.
Choose a compatible cleanser
Use a brush cleanser or mild cleaning product supported for the fiber and cosmetic residue. Strong fragrance, conditioner, oil, household disinfectant, or harsh detergent can leave residue or damage fibers. Add a small amount, work it through the bristle tips and center, and avoid grinding the brush against a rough mat with enough force to bend or break hairs.
Rinse until water and feel are clear
Continue rinsing with bristles downward while gently opening dense areas. Color in the water may come from makeup or a dyed brush, so inspect both the runoff and the fiber. Residual slipperiness or foam means more rinsing is needed. Do not squeeze by twisting at the ferrule. Press from the base of the fibers toward the tips with a clean towel.
Reshape each brush before drying
Restore the original profile while bristles are damp and remove any hair trapped across the ferrule edge. A fine eyeliner brush needs its point or angled edge aligned; drying splayed can reduce control near the eye. Do not use glue, hairspray, or styling product to force bristles into shape.
Dry with airflow and no pooled water
Lay brushes flat with bristles extending beyond a clean edge or use a rack that keeps water away from the ferrule, following tool guidance. Do not dry upright while wet, inside a closed bag, on a radiator, or with a hot hair dryer. Dense brushes and sponges may require extended airflow. Store only when the center is fully dry and odor-free.
Clean sponges as a separate porous category
Wet a reusable sponge as directed, work cleanser through repeated compression, rinse thoroughly, and let it dry in open air. Do not tear it with nails or return it damp to a sealed container. Staining may persist after cleaning, but odor, black spots, crumbling, tears, or a center that never dries indicate replacement rather than another aggressive wash.
Handle cream, glitter, and waterproof residue
Heavy cream or waterproof makeup may need a compatible first cleaning step before routine washing. Use only a remover supported for the brush material, then remove that residue completely. Loose glitter should be captured without sending particles toward eyes or drains. Do not mix solvents or leave oily film that changes the next product’s texture, wear, or eye-area placement.
Set cleaning frequency by use and contamination
Eye-area and liquid-product brushes generally need more frequent cleaning than personal powder tools, and professional shared tools require an appropriate between-client sanitation system. Clean immediately after illness, eye infection, dropped tools, or questionable storage according to professional guidance. A calendar helps, but visible buildup, changed application, odor, or contamination overrides a routine date.
Do not share personal eye tools
Sharing mascara wands, liner brushes, sponges, and products can transfer material and microbes. Professional work needs disposable applicators or validated cleaning and sanitation procedures appropriate to the product and jurisdiction. Never double-dip a used applicator into a shared cream. The sensitive-skin makeup guide also explains why clean tools do not make an irritating formula suitable.
Retire tools by function, not appearance alone
Replace a brush when it scratches, sheds into products, loses shape, exposes sharp wire, develops a loose ferrule, remains contaminated, or cannot dry fully. A visually attractive handle does not rescue damaged contact fibers. Record repeated failures by model in a professional kit so replacements improve reliability rather than reproducing the same cleaning problem.
Brush-cleaning checklist
- Tool material and cleaning limits are identified before washing.
- Dirty, rinsed, and dry zones remain separate.
- Water and cleanser stay controlled around ferrules and mechanisms.
- Rinsing removes foam and residue without twisting fibers.
- Every tool dries fully with airflow before closed storage.
- Damaged, shared, ill-exposed, or contaminated tools are replaced appropriately.
Editorial sources
- https://www.aad.org/public/everyday-care/skin-care-secrets/routine/clean-your-makeup-brushes
- https://www.fda.gov/cosmetics/resources-consumers-cosmetics/using-cosmetics-safely