How To Gel Your Nails At Home
If you’re looking for a salon-quality manicure without having to leave your house, you’ve come to the right place. Keep reading to learn how to gel your nails at home in just a few easy steps!
How to do gel nails at home
When it comes to doing your nails at home, there are a few options available to you. You can either go to the salon or do them yourself. However, if you want to save money and time, doing them yourself is the way to go. Plus, it’s not as difficult as you may think. Here’s a step-by-step guide on how to do gel nails at home:
1. Start by trimming and filing your nails. If your nails are particularly long, you may want to start by trimming them down first. Then, use a nail file to even out the edges and create the shape you want.
2. Next, it’s time to prep your nails for the gel polish. This means cleansing them with rubbing alcohol or an acetone-based nail polish remover. This will remove any oils from your nails that could prevent the gel polish from adhering properly.
3. Once your nails are clean and dry, it’s time to apply the base coat of gel polish. Be sure to use thin, even strokes and cure the polish under a UV or LED light for the recommended amount of time (usually about 60 seconds).
4. Now it’s time for the color! Apply your favorite shade of gel polish in thin, even strokes and cure under a UV or LED light for 2 minutes. Repeat this step until you’re happy with the opacity of the color.
5. To finish things off, apply a top coat of gel polish and cure under a UV or LED light for 60 seconds. And that’s it! Your gel nails are now complete!
How to remove gel nails at home
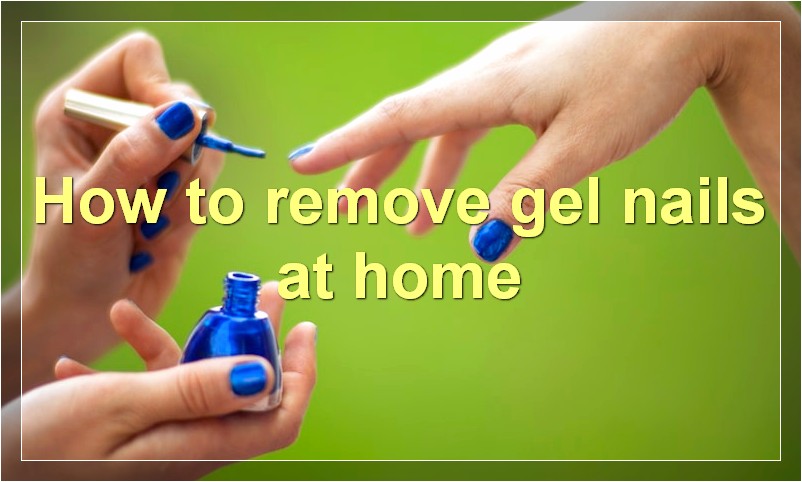
If you’re one of the many people who have decided to take their gel manicure into their own hands, you may be wondering how to remove gel nails at home. While it’s not as simple as just popping them off, there are a few things you can do to make the process a little easier.
First, start by soaking your nails in acetone for about 10 minutes. This will help to break down the gel polish so that it’s easier to remove.
Once your nails have been soaking, use a nail file or orange stick to gently scrape off the gel polish. Start at the base of the nail and work your way up.
Once most of the gel polish has been removed, soak your nails in acetone again for a few more minutes. Then, use a cotton ball soaked in acetone to remove any remaining gel polish.
Finally, wash your hands with soap and water to remove any residue and moisturize your nails with a cuticle oil or cream.
What are some gel nail designs
Gel nails are all the rage these days. From the runway to the red carpet, everyone is rocking this trendy nail look. But what exactly are gel nails? Gel nails are a type of manicure that uses a gel polish and requires curing under a UV or LED light. This process allows the polish to last much longer than a traditional manicure – up to two weeks!
So, now that you know all about gel nails, it’s time to get inspired by some amazing gel nail designs! Check out these 20 must-see gel nail designs:
1. Ombre Gel Nails
Ombre is a huge trend in the fashion and beauty world, so it’s no surprise that this look has made its way to nails! To achieve this look, start with a light base color and then gradually add darker colors as you move towards the tips of your nails.
2. Glitter Gel Nails
Who doesn’t love a little glitter? Add some sparkle to your gel nails with a glitter polish. You can go for an all-over glitter look or just add a touch of glitter to accentuate other design elements.
3. Marble Gel Nails
Marble nails are absolutely stunning. To achieve this look, start with a white base color and then use a toothpick or dotting tool to create swirls of different colors. Once you’re happy with the design, seal it with a top coat.
4. Floral Gel Nails
Floral nails are perfect for spring and summer. There are endless possibilities when it comes to floral designs, so get creative! You can use real flowers, paint flowers, or even create 3D flowers using gel polish.
5. Geometric Gel Nails
Geometric designs are clean, modern, and always chic. To create this look, start with a base color and then use tape or a stencil to create straight lines or geometric shapes. Fill in the negative space with another color or leave it as is for a more minimalist design.
6. Striped Gel Nails
Striped nails are classic and timeless. To achieve this look, start with a base color and then use tape or a striper brush to create thin stripes in another color. You can also mix things up by using multiple colors or even making diagonal stripes.
7. Negative Space Gel Nails
Negative space nails are all about simplicity and elegance. To create this look, start with a base color and then use tape or a stencil to create a negative space design. The most popular negative space designs feature geometric shapes or delicate florals.
8. Galaxy Gel Nails
How to care for gel nails
Gel nails are a type of artificial nail that most closely resembles the natural nail. They are made of a flexible gel material that is applied to the natural nail and then cured under a UV or LED light. Gel nails are more durable than regular artificial nails and can last up to two weeks without chipping or peeling.
If you have gel nails, it is important to take care of them properly in order to extend their lifespan. Here are some tips on how to care for gel nails:
• Avoid using your nails as tools. This can cause the gel to chip or peel.
• Be careful when applying lotion or oils to your hands. Avoid getting any on your nails, as this can cause the gel to break down.
• When washing dishes, use gloves to protect your nails from water and harsh detergents.
• Avoid long exposure to water, such as soaking in a tub or swimming. This can cause the gel to loosen and eventually fall off.
• Get your gel nails professionally removed by a technician when you are ready to take them off. Do not try to remove them yourself, as this can damage your natural nails.
How long do gel nails last
When it comes to your nails, there are a lot of options to choose from. You can go natural, or you can get them done at a salon. There are also a lot of different types of manicures, from gel nails to acrylics. So, how long do gel nails last?
Gel nails are a type of manicure that uses a gel polish. The gel polish is cured under a UV or LED light, and then your nails are sealed with a top coat. Gel nails usually last around 2-3 weeks, but this can vary depending on how well you take care of them.
To make your gel nails last as long as possible, you need to be careful about the things you do. Avoid using your nails as tools, and be careful when washing dishes or doing other activities that could damage your nails. Also, make sure to keep your hands moisturized so that your nails don’t dry out and crack.
If you take good care of your gel nails, they can last for several weeks. However, if you want them to last even longer, you can get a touch-up every few weeks. This will help to fill in any chips or cracks and extend the life of your manicure.
Are gel nails bad for your nails
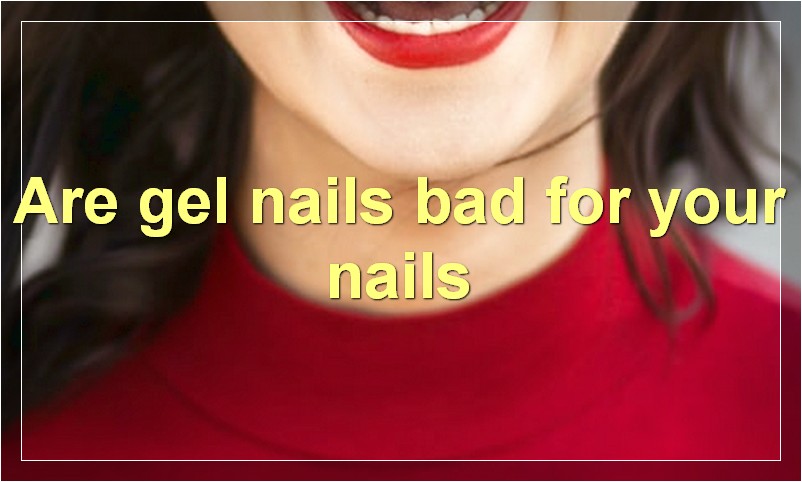
Gel nails are a type of artificial nail that most closely resembles the natural nail. They are made from a mixture of acrylics and gel, and are applied to the nail much like regular polish. Gel nails are popular because they are strong and durable, and can be painted in a variety of colors and designs.
However, there is some debate over whether or not gel nails are bad for your natural nails. Some experts believe that the chemicals in gel nails can damage the nail bed, leading to thinning and brittleness. Additionally, gel nails must be removed with acetone, which can also be damaging to the nails.
If you are considering getting gel nails, it is important to consult with a professional to ensure that they are applied correctly. Additionally, be sure to follow all instructions for removal carefully to avoid damaging your nails.
How much do gel nails cost
Gel nails are a popular choice for many women who want to have long, strong and beautiful nails. But how much do gel nails cost?
The average cost of gel nails is around $30-$35. However, the price may vary depending on the salon, the type of gel used, the length of the nails and other factors.
If you want to get gel nails done at a salon, it is important to find a reputable one that uses high-quality products. You should also ask about the different types of gels available and what would be best for your nails.
Once you have found a good salon, you can expect to pay around $40 for a full set of gel nails. If you want a French manicure, the cost will be slightly higher.
If you want to save money, you can try doing your own gel nails at home. This is not as difficult as it sounds and there are many tutorials available online. However, it is important to make sure that you buy a good quality gel nail kit from a trusted source.
On average, doing your own gel nails will cost around $25-$30. So, if you are on a budget, this is definitely the way to go!
What is the difference between gel and acrylic nails
It is common for people to wonder what the difference is between gel and acrylic nails. Both give your nails a polished look, but there are some key differences between the two.
Gel nails are made from a polymer that is cured under ultraviolet light. This makes them more flexible than acrylic nails, which are made from a plastic that is hardened with chemicals. Gel nails also tend to be more shiny than acrylics.
Acrylic nails are stronger than gel nails and can last longer. They are also less likely to chip or break. However, they can be more difficult to remove than gel nails.
So, which is better? It really depends on your personal preferences. If you want strong, long-lasting nails, then acrylics may be the way to go. If you prefer a more natural look or want your nails to be more flexible, then gels may be a better option.
Can you paint over gel nails
It’s a common question: can you paint over gel nails? The short answer is yes, you can! However, there are a few things to keep in mind before you start painting. Here’s everything you need to know about painting over gel nails.
First, it’s important to start with a clean slate. That means removing any old polish, gel, or other nail treatments from your nails. You can do this by gently buffing your nails with a nail file or an emery board. Once your nails are free of old polish, wash your hands with soap and water to remove any debris.
Next, it’s time to prep your nails for paint. If your nails are bare, that’s fine! Just make sure they’re clean and dry before you start painting. If you’re painting over gel nails, you’ll need to remove the shine from the gel first. You can do this by lightly sanding your nails with a nail file or an emery board. Once the shine is gone, wash your hands with soap and water to remove any dust.
Now that your nails are prepped and ready to go, it’s time to start painting! Use a base coat to protect your nails and help your polish last longer. Then, apply your favorite color of polish. For best results, use thin coats of polish and allow each coat to dry completely before applying the next. Once you’ve applied your desired number of coats, finish with a top coat to seal in your manicure.
And that’s it! Now you know how to paint over gel nails like a pro. Just remember to take your time and be patient while you’re painting, and you’ll end up with a beautiful manicure that will last for weeks.
How do you know if your gel nails are cured
If you’ve ever had your nails done at a salon, you know the process of curing gel nails. But what does it really mean when your technician says your nails are cured? Here’s a breakdown of what curing gel nails entails and how you can tell if it’s been done properly.
When you get a gel manicure, your technician applies a base coat to your nails before applying the colored polish. After the polish is applied, your nails are placed under a UV or LED light for a few minutes. This helps the polish to set and harden. Once they’re hardened, the excess polish is removed and a topcoat is applied. The nails are then placed under the light again to cure the topcoat.
So, how can you tell if your gel nails are cured? The best way is to ask your technician. They should be able to tell you if the gel has been cured properly. You can also look at your nails after they’ve been under the light. If they look dry and shiny, that’s a good sign that they’ve been cured.
If you’re not sure if your gel nails have been cured, don’t hesitate to ask your technician or take a closer look at your nails. Cured gel nails should look smooth and shiny.