How to Shape Eyebrows: Map, Trim, and Fill

Quick answer: Shape brows by preserving the natural growth pattern, mapping a conservative start, arch, and tail, then removing only clearly outlying hairs. Trim and fill in separate steps so temporary makeup guides the design before hair is removed. This independent editorial guide does not claim first-hand product testing, diagnose, prescribe, or guarantee a result.
Observe growth before drawing a new outline
Let enough brow growth become visible to distinguish the main body from stray hairs. Photograph both brows straight on in neutral light and note density, direction, scars, sparse areas, and where hairs naturally change angle. Do not assume that a filtered or laminated reference can be reproduced by tweezing alone.
Brush hairs upward and outward with a clean spoolie, then let them settle. The upper and lower edges may not be parallel, and one brow can grow higher or fuller. The goal is a related visual balance, not identical stencils on naturally different bone structure and hair distribution.
Map start, arch, and tail as references
Use the nostril and inner eye area as a rough start reference, the iris or outer eye region as an arch guide, and the nostril-to-outer-corner line as a possible tail endpoint. These are design references, not anatomical laws. Adjust them to the natural brow and desired expression.
Mark points with a removable brow product and connect them using short strokes. View the map with the face relaxed and from normal distance. A map that looks clean in a magnifying mirror can appear too narrow, dark, or high once both eyes and the whole face are visible.
Test thickness with makeup first
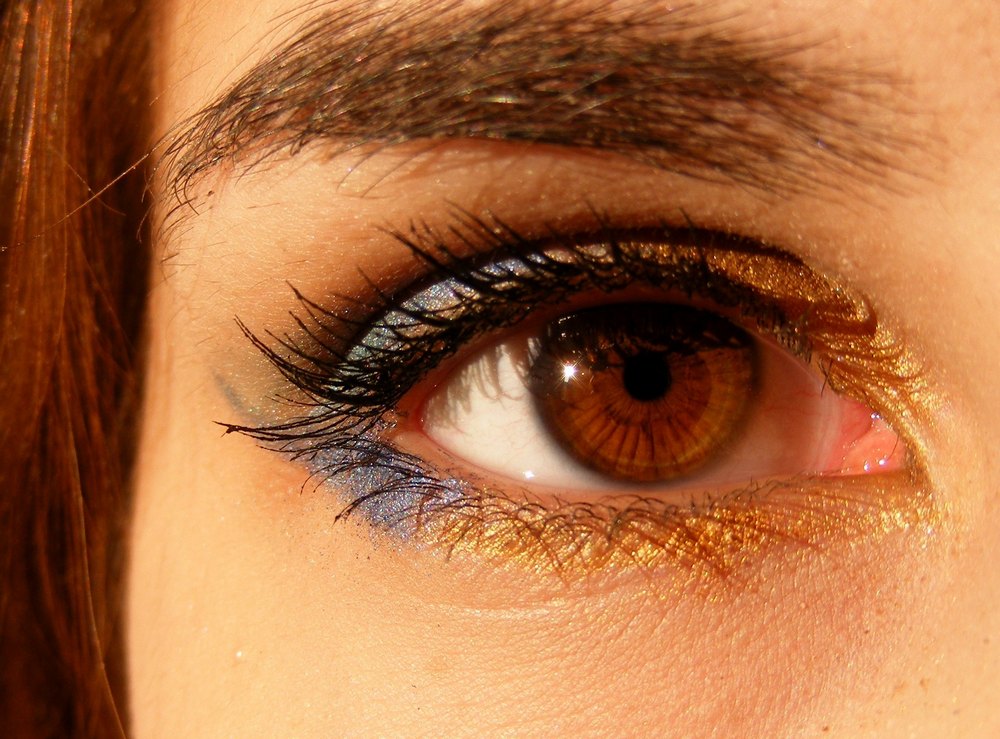
Fill beneath or above the existing edge to preview a thicker or straighter shape before removing hair. Conceal a few outlying hairs temporarily to preview a cleaner lower line. Wear the proposed map under ordinary expressions and lighting rather than making an irreversible decision from one close-up.
Keep the front lighter and preserve the transition into the arch unless a stronger block is intentional. If the design requires removing a large part of the natural body, reconsider the target. Regrowth is variable and repeated removal can make correction slow or incomplete.
Tweeze only isolated hairs in clean conditions
Wash hands, clean the skin and tweezers appropriately, and work in stable light. Grasp one hair near its base and pull in the direction of growth. Pause after a few hairs and reassess both brows; rapid alternating removal can create gaps before the shape is visible.
Do not tweeze irritated, infected-looking, recently treated, or broken skin. Stop for significant swelling, bleeding, or persistent pain. Hair removal near the eye requires particular control, and shared or contaminated tools should not be used.
Trim long hairs without creating holes
Brush a small section in its natural direction and identify only tips that extend beyond the intended line. Trim one hair at a time with suitable clean scissors. Cutting a straight horizontal shelf across all upward-brushed hairs can expose gaps when they return to their resting direction.
Coarse curls and long directional hairs may provide coverage over sparse skin. Check each trim with the brow relaxed. If a hair is merely lying in an inconvenient direction, a compatible brow gel may solve the issue without removing its length.
Use razors and waxing as separate decisions
A brow razor cuts hair at the skin surface and creates different regrowth feel from tweezing. Waxing removes many hairs at once and can affect treated or sensitized skin. Threading also has technique and hygiene requirements. Do not treat these methods as faster versions of the same risk.
Review skin-care actives, recent procedures, irritation, and professional instructions before waxing or another surface treatment. For an unfamiliar shape or reactive skin, a qualified professional consultation can reduce the chance of removing an unintended section.
Fill according to missing structure
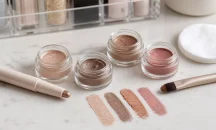
Use pencil-like strokes where individual hairs are absent, powder for a soft shadow, pomade for stronger definition, or gel for directional hold. Product choice should match the correction needed. Heavy opaque coverage is not required to make two brows relate.
Select color by depth and undertone beside the actual hair, then apply with a clean tool. Keep eye-area products within their labeled use and stop for persistent irritation. Brow makeup can preview and refine; it does not prove that more hair should be removed.
Review regrowth before the next shaping session
Allow time for short hairs and the complete outline to become visible before repeating removal. Note where the shape was easy to maintain and where makeup was still needed. A dated photo and simple map can prevent gradual over-thinning across frequent touch-ups.
This guide does not promise perfect symmetry, painless removal, permanent shape, or a particular face change. Seek appropriate care for persistent skin reactions, sudden brow loss, patchy loss, or another unexplained change. Conservative mapping keeps correction options open.
Use a stop line for each session
Mark the intended lower and upper boundary before touching tweezers or scissors. When the marked outliers are gone, stop and live with the shape before revising it. This prevents a small search for symmetry from becoming progressive thinning, particularly when magnification makes ordinary differences appear larger.
Correct an over-shaped brow without chasing it
If too many hairs were removed, stop tweezing and use makeup to reconnect the outline while regrowth is observed. Match strokes to the direction and thickness of nearby hairs rather than drawing one opaque block. Avoid removing additional hairs from the fuller brow solely to make both sides equally sparse.
Track regrowth with monthly photographs under similar light. Hair cycles and prior removal make timing variable, so do not promise a recovery date. Sudden or expanding loss, scaling, inflammation, or loss elsewhere on the body calls for professional evaluation rather than another cosmetic shaping method.
Review the brow without magnification
Stand at conversational distance and compare the brows while the face moves through neutral, smiling, and raised-brow expressions. A tiny outline difference may disappear in normal viewing, while an overly dark front can become more obvious. Make makeup adjustments first and reserve hair removal for differences that remain meaningful.
Related Beauty Supply Reviews guides
Editorial sources
- https://www.fda.gov/cosmetics/cosmetic-products/eye-cosmetic-safety
- https://www.fda.gov/cosmetics/cosmetic-products/makeup