Belle-Inspired Half-Up Braid Tutorial

Quick answer: Create a Belle-inspired braided hairstyle by leaving most lengths down, bringing two front-side sections toward the back, joining them in a loose braid or twist, and finishing with a ribbon or covered elastic. Build a comfortable half-up silhouette rather than forcing an exact film replica. This tutorial does not claim first-hand testing or promise the same result on every length and texture.
Choose the Belle-inspired version that fits your hair
The recognizable features are soft face framing, a half-up shape, gathered side sections, and a decorative finish. Those elements can be adapted without copying every curl or strand placement. Shoulder-length hair may support a short center braid, while shorter layers may work better with two pinned twists. Long, dense hair can use a wider braid so the detail remains visible.
Decide whether the loose lengths will remain natural, be set in waves, or be lightly curled. Heat is optional. A braid and ribbon can establish the theme even when the rest of the hair stays in its normal texture.
Gather tools before sectioning
- Wide-tooth comb or detangling brush suited to the texture.
- Tail comb or fingers for the part.
- Four to six sectioning clips.
- Small covered elastic in a compatible size.
- Smooth bobby pins or hairpins.
- Optional ribbon with sealed, nonfraying edges.
- Light styling product only if the hair needs control.
Check every pin for peeling coating or rough ends. The ribbon should not shed glitter, wire, or stiff adhesive into the hair. If hot tools are used, follow their directions, keep temperature appropriate to the hair’s condition, and let each section cool before manipulating it.
Prepare the base without erasing natural texture
Begin with dry or appropriately damp hair based on the chosen styling products and tools. Detangle from the ends upward while supporting each section. Set the part and decide how much hair should remain around the face before the side sections are taken back.
For loose waves without heat, use a compatible set on slightly damp hair and allow it to dry fully. If the hair is already wavy, curly, or coily, preserve that texture and smooth only the small areas needed for the half-up structure. The goal is a coherent silhouette, not a uniform curl pattern.
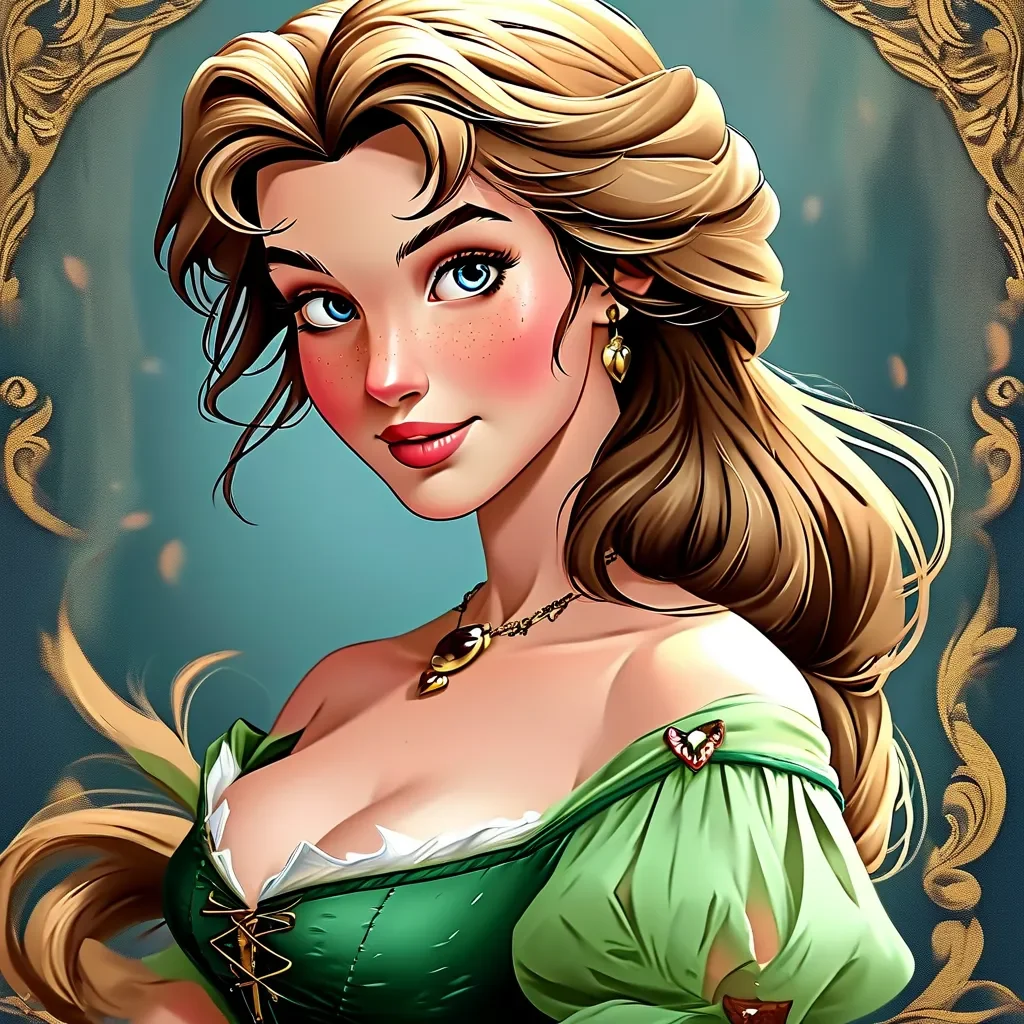
Build the half-up anchor step by step
- Create a side or center part that feels natural and leaves the chosen face-framing pieces free.
- Take a section above each ear, keeping the pickup size similar on both sides.
- Twist each section once or twice away from the face, or make a short three-strand braid.
- Bring both sections to the back of the head without pulling the temples.
- Join them with a covered elastic just below the crown.
- Check the front and side views before adding volume or detail.
- Loosen only the outer edges where a softer shape is wanted.
The anchor should stay in place when the head turns but should not create a headache, pinching, or visible pulling at the hairline. If it slides, use a slightly larger section or crossed pins rather than tightening the elastic repeatedly.
Add the central braid or twist
Divide the joined ponytail into three sections and make a short, relaxed braid. Secure it with a second small elastic, or pin the end beneath the loose hair. For a wider appearance, hold the braid center and gently pull the outer loops a few millimeters at a time.
A rope twist is an easier alternative: divide the joined section in two, twist each piece in the same direction, then wrap them around each other in the opposite direction. For a raised woven detail, adapt the crossing method from how to Dutch braid your own hair, but keep pickups limited to the half-up section.
Place the ribbon and pins securely
Tie the ribbon around the elastic, not directly around loose hair. A small bow can sit above the braid; a longer ribbon can trail beside it. Keep ribbon ends away from candles, moving equipment, and small children. For an event, carry spare pins and a small elastic rather than relying on repeated hairspray.
Insert pins in the direction of the twist and then turn them toward the anchor. Avoid dragging a pin across the scalp. If a decorative clip is heavy, support it with an elastic or crossed pins so its entire weight does not hang from a few hairs.

Adapt the style by length and texture
| Hair situation | Useful adaptation | Avoid |
|---|---|---|
| Short layers | Use side twists and pin them separately. | Pulling every short piece into one tight elastic. |
| Fine or slippery hair | Use small sections and lightweight texture support. | A heavy metal accessory on the anchor. |
| Dense hair | Increase section size and use an elastic sized for the volume. | Forcing a tiny elastic around thick sections. |
| Curly or coily hair | Preserve curl groups and braid the gathered section gently. | Dry brushing the entire style for uniformity. |
| Extensions | Keep anchor tension away from attachment points. | Pinning blindly through bonds, beads, or wefts. |
Protect the hairline and scalp
The American Academy of Dermatology notes that repeatedly tight hairstyles can contribute to traction-related hair loss. Release and rebuild the style if there is pain, stinging, bumps, persistent soreness, or a visibly pulled hairline. The finished look should move slightly when the scalp moves.
For formal-event planning, test the complete style before the day itself and use the prom hairstyle guide to account for weather, clothing, photography, and takedown time. A comfortable trial is more useful than adding more pins during an event.
Troubleshoot the finished Belle-inspired braid
- The sides sag: move the anchor slightly higher or take a more balanced section.
- The crown is flat: loosen small areas before securing the accessory.
- Short pieces escape: pin individual twists instead of coating the area with product.
- The braid disappears: widen its outer loops or choose a contrasting ribbon.
- The style hurts: remove it and reduce tension; pain is not a hold technique.
- One side is larger: compare section boundaries, not only the finished braid.
Remove the style without breakage
Untie the ribbon and remove decorative pieces first. Count and remove every pin before touching the elastic. Unwind the braid from the end upward, support the hair above each snag, and separate with fingers before brushing. If styling product has dried hard, soften it according to its directions rather than pulling through it.
The Belle-inspired effect comes from proportion and softness. A shorter braid with a stable, comfortable anchor is a better result than a detailed replica that pulls the hairline.
Editorial sources
- American Academy of Dermatology: healthy hair tips
- American Academy of Dermatology: hairstyles and hair-loss risk